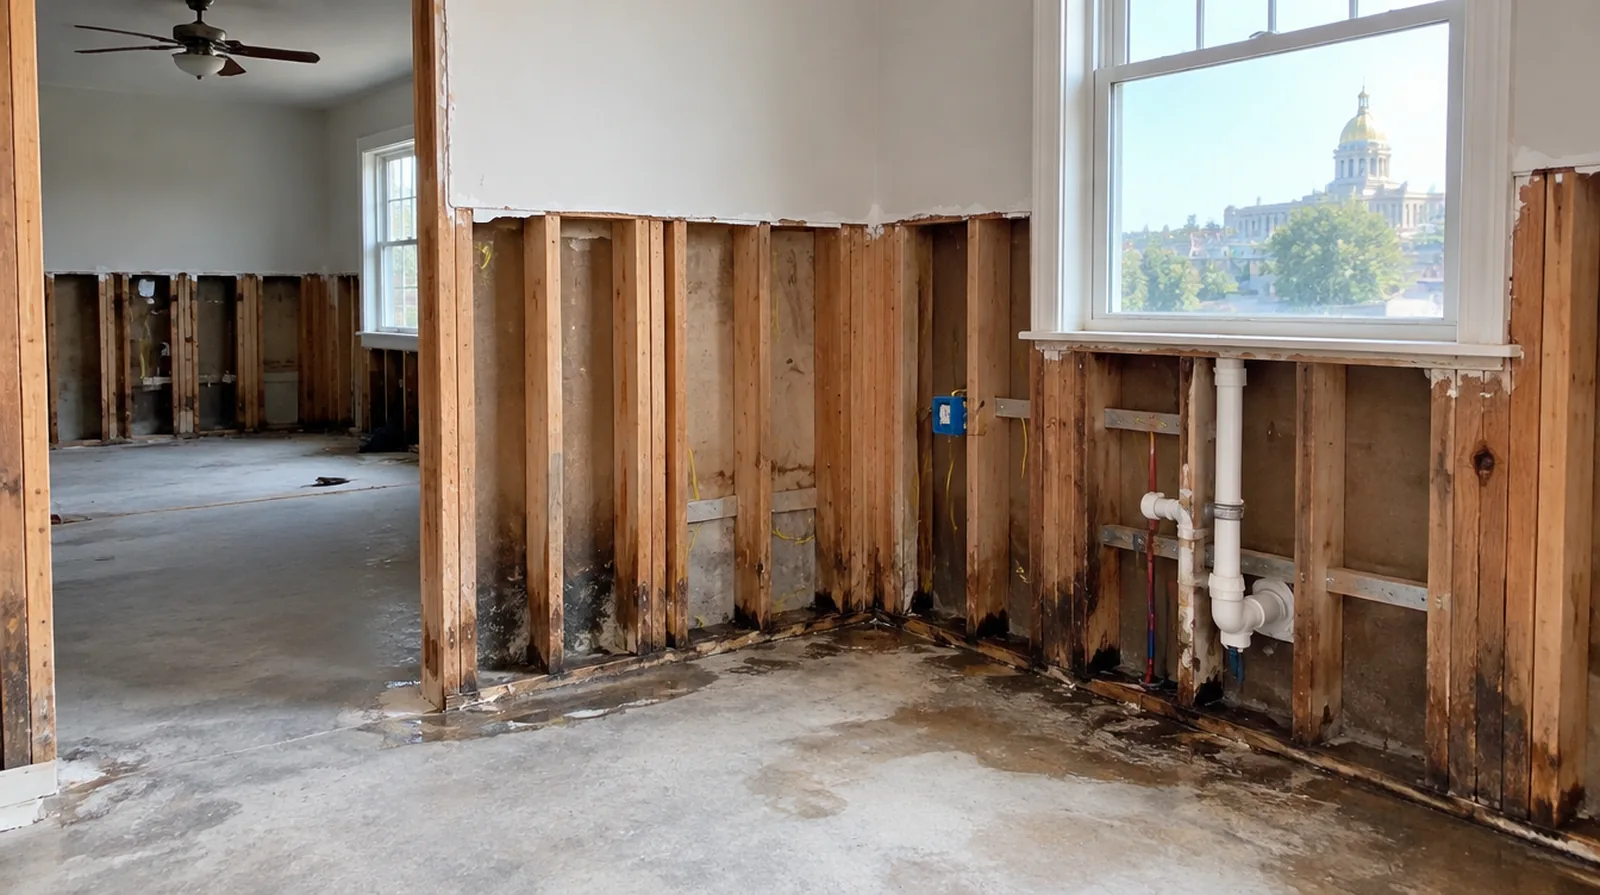
Define selective removal
Removing a controlled section provides access for assessment while preserving material that remains sound. Choose its edge to allow supported replacement and a finishing transition that can be blended effectively. For a distinctive existing pattern, retain a reference sample or detailed picture to make the matching discussion more specific.
Keep contamination separate
Suspected microbial contamination or exposure to flood water is outside a routine cosmetic patch assessment. Obtain suitable remediation advice about safe containment and removal before arranging ordinary drywall restoration. Where flooring is staying in place, agree on protective coverings and check that tools and material handling will not damage the visible finish.
Rebuild supported edges
New panel pieces need secure fastening to sound framing or suitable backing. A stable repair perimeter helps avoid later cracking where replacement board meets the original surface. Before comparing two proposals, check that both include the same protection, finishing and cleanup boundaries rather than comparing totals alone.
Agree on decorative boundaries
Repairing the damaged board and restoring a uniform decorative finish are related but distinct tasks. A ceiling or wall repaint may need to extend beyond the removed section to look consistent. If the problem developed after another renovation, explain which nearby materials or building systems changed before the damage became noticeable.
Finish after moisture control
Tape and finishing compound belong on stable dry material rather than a damp or deteriorating substrate. Give each finishing layer time to dry instead of trapping dampness under additional material. When concealed damage is possible, establish how additional findings and any proposed removal will be recorded before the scope changes.
Treat remaining discoloration
An old dry mark may bleed through new decoration unless an appropriate primer is selected. Verify that the stain is inactive before choosing a coating system for the repaired surface. Where the wall meets fixed furniture, clarify whether removal is included or whether the finish will terminate at the accessible edge.
Inspect concealed components
Other components revealed by removal might need attention that is not included in panel replacement. Resolve the condition of exposed insulation, wiring and plumbing before closing the wall. When more damage could be hidden, ask how any added scope will be documented before extra material is removed or replaced.
Match the board assembly
Replacement board should suit the current thickness and any applicable wall or ceiling assembly requirements. Changing to a moisture resistant board does not excuse leaving the original water problem unresolved. When comparing competing estimates, make sure their protection, surface finish and disposal allowances describe equivalent work before comparing the final prices.
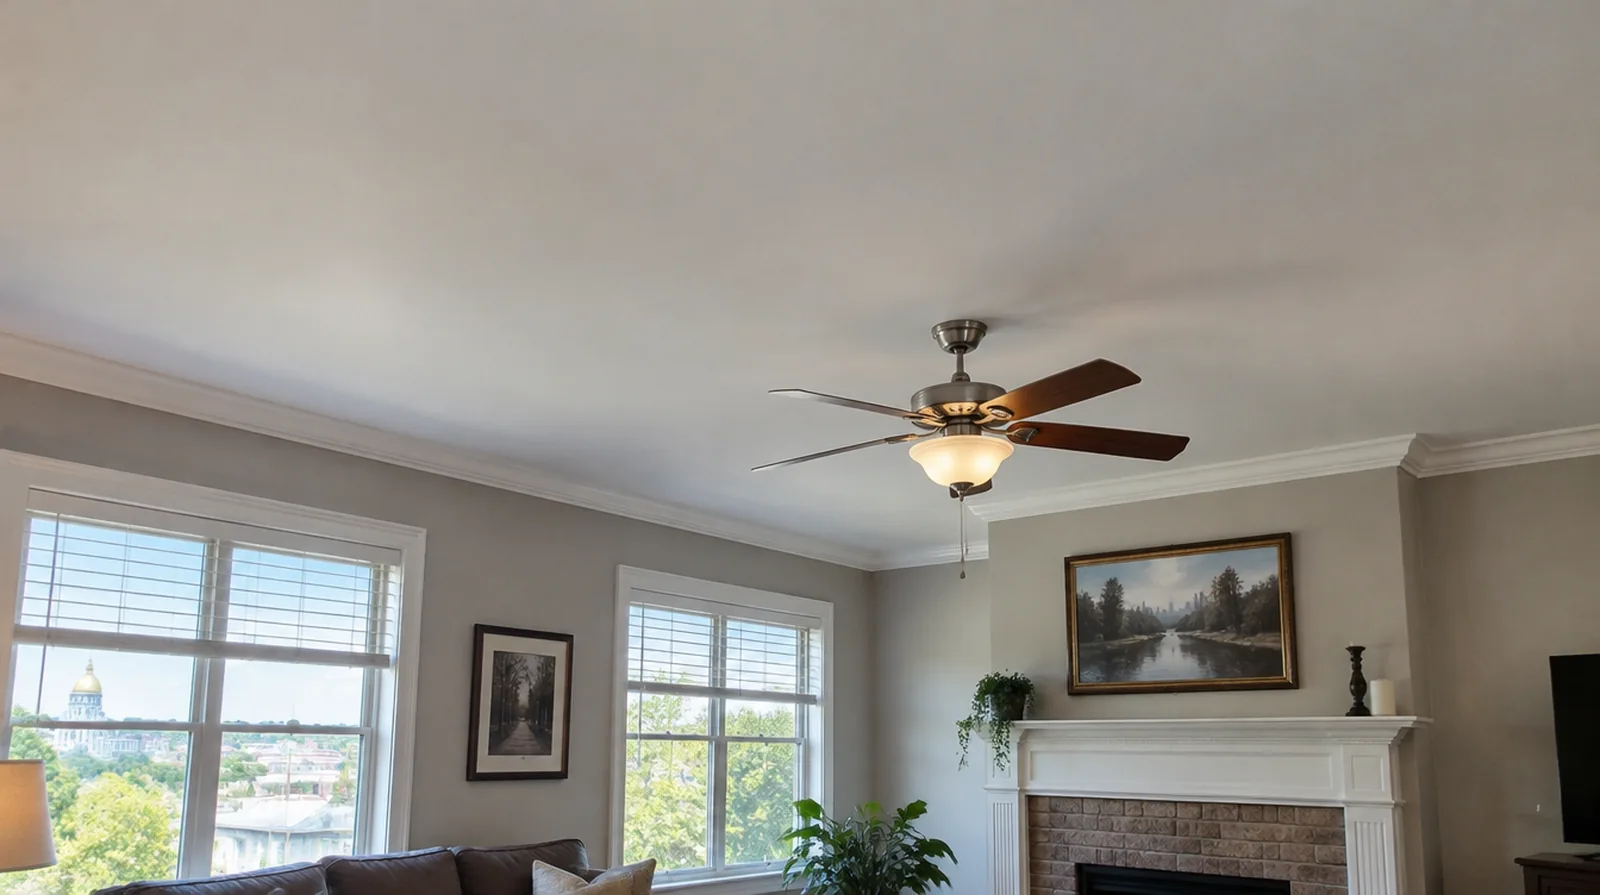
Resolve the water source
A leak or condensation problem must be addressed before replacing the affected drywall. A cosmetic cover will not stop water from entering the same assembly again. For an older repair with no clear history, describe when the mark first appeared and whether it has changed through more than one season.
Verify drying readiness
A surface that feels dry can still conceal moisture in insulation or framing. The project should identify who verifies the cavity is ready before replacement panels close it again. When the history of a repair is uncertain, note when it became visible and whether its appearance has altered across distinct seasons.
Project context in Macon-Bibb
For a Macon-Bibb interior project, a hallway with several door returns is a useful example of why square footage alone does not describe the labor. Each edge, frame and change of plane affects protection and finishing access.
Scope questions before finishing
If materials must cross common building areas, plan the protection and access route so other occupants are not needlessly obstructed by deliveries.
At a repair beside an opening, allow clearance for moving board through the doorway and space to use the finishing tools effectively.
If the problem developed after another renovation, explain which nearby materials or building systems changed before the damage became visible.
At the handover inspection, review the finish from ordinary room positions using the lighting conditions that were agreed for the work.
Where existing floors will remain, specify protective measures and review the path used by panels, equipment and finishing tools.
For a small repair with extensive setup, compare the total scope rather than assuming the price should follow the hole dimensions alone.
For an older repair with no clear history, describe when the mark first appeared and whether it has changed through more than one season.
Where a future fixture will be installed, coordinate any required backing while the cavity is accessible rather than reopening the completed wall.
When damage followed other building work, describe the nearby alterations and the sequence between those changes and the first visible defect.
When a wall has repeated defects, keep a record of earlier repair attempts so a new assessment does not simply repeat an unsuccessful approach.
Where a finished perimeter is prominent, decide whether trim stays in position or is removed before agreeing how the new surface meets that edge.
If a household member is sensitive to dust, discuss containment and cleaning expectations before choosing how to stage the space work.
Explore the Macon-Bibb drywall overview for related options, or read the project planning information before arranging the next stage.
More planning details for Macon-Bibb
Measure the separate surfaces and explain which doors need to remain usable while compound dries. Humid summer conditions can influence the interval between coats, while cooler periods may require attention to the room temperature. If an older repair has cracked again, share that history before choosing another cosmetic patch.