Set realistic goals
A heavier wall may not solve a complaint if sound still passes through openings and nearby junctions. Explain improvement goals at assembly level instead of promising that one product will make the room silent. For a small repair with extensive setup, compare the total scope rather than assuming the price should follow the hole dimensions alone.
Identify the noise path
Determine whether the main concern is airborne speech or vibration through the building structure. Different transmission paths call for differing assessments before a wall treatment is selected. If the finish paint is already chosen, share its sheen and color early because those choices influence how surface preparation is judged.
Explain verification limits
A construction proposal is not the same as a field measured acoustic performance report. A specific performance requirement may justify design advice and suitable field verification by an acoustic specialist. When a paint contractor follows the drywall work, define the surface condition being handed over and decide who handles any minor final touch ups.
Respect fire requirements
Acoustic changes should preserve any fire resistance required of the original separating assembly. Verify suitable board, sealing and connection details before changing the current assembly. If scheduling is the main concern, separate hands on labor from drying intervals instead of treating every visit as a full day of active work.
Finish the visible surface
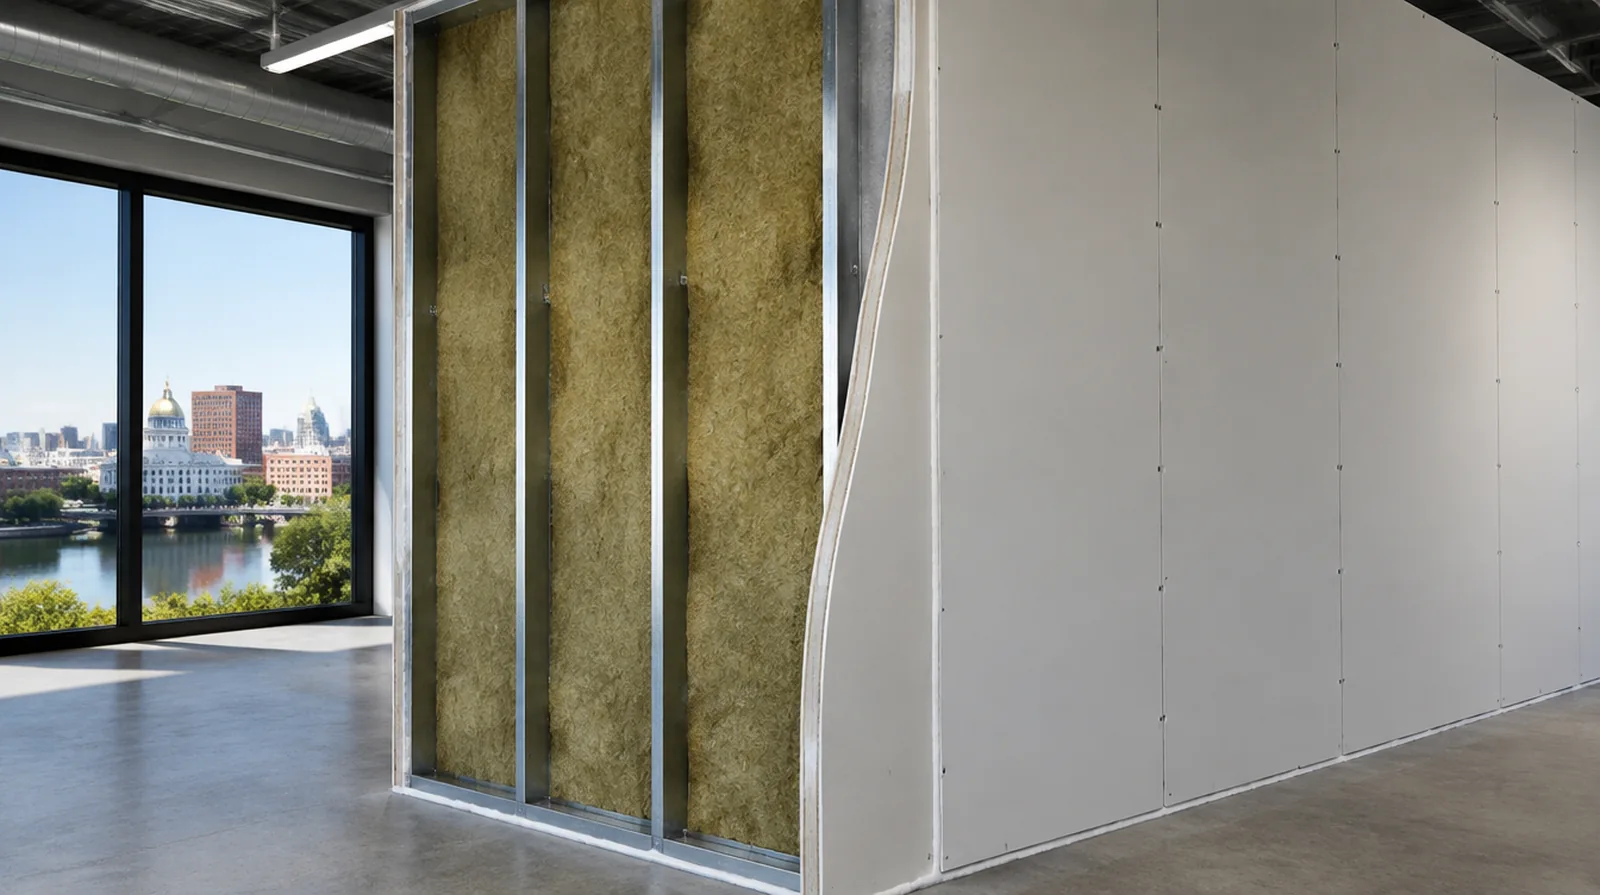
Acoustic board still needs the appropriate joint treatment and coating preparation. The specified sound control details should remain intact while the visible face is made ready for decoration. If the completion date matters most, allow for intervals between coats as well as active labor rather than assuming the entire process happens continuously.
Include flanking paths
Noise can bypass a treated partition through connected walls, ceilings and floors. A room level discussion helps explain why treating one surface may not resolve every noise complaint. When concealed damage is possible, establish how additional findings and any proposed removal will be recorded before the scope changes.
Avoid rigid bridges
Resilient components can lose effectiveness when fasteners or fittings create unintended solid connections. Check fastener and attachment details against the system guidance rather than judging only the noticeable wall. If the completion date matters most, allow for intervals between coats as well as active labor rather than assuming the entire process happens continuously.
Evaluate added thickness
Additional board layers may influence trim, outlets and the clear dimensions around doors. Allow for outlet, doorway and edge adjustments so the sound control work has a complete visible finish. If the interior will remain occupied, identify a workable separation between the project space and the space that still needs daily access.

Consider cavity access
An open partition offers different options from a finished wall that must remain largely intact. Describe any removal and later restoration needed to reach the relevant cavity or attachment points. If materials must cross common building areas, plan the protection and access route so other occupants are not needlessly obstructed by deliveries.
Coordinate electrical boxes
Electrical openings can become acoustic weak points, particularly where boxes align on opposite faces. Coordinate any changes with the electrical trade and preserve the requirements of the complete assembly. At a ceiling or wall containing fittings, assign removal and reinstatement duties for the affected devices before repair access is needed.
Project context in Macon-Bibb
Humid summer conditions can influence the interval between coats, while cooler periods may require attention to the room temperature. If an older repair has cracked again, share that history before choosing another cosmetic patch.
Scope questions before finishing
Where occupants have dust sensitivity concerns, agree containment and cleaning measures before settling the way the space will be staged.
When the history of a repair is uncertain, note when it became visible and whether its appearance has altered across differing seasons.
If the project is part of a larger remodel, settle the sequence with flooring, trim and cabinet work before setting a final finishing date.
If the wall work belongs to a broader renovation, coordinate its order with flooring, cabinetry and trim instead of scheduling finishing in isolation.
When the decorative coating has been selected, tell the finisher its intended sheen and color while the preparation of the surface standard is still being agreed.
For a wall receiving a decorative covering, provide its preparation requirements early sufficient for the drywall finish to support that product.
At a repair beside an opening, allow clearance for moving board through the doorway and space to use the finishing tools effectively.
If a household member is sensitive to dust, discuss containment and cleaning expectations before choosing how to stage the room work.
If the problem developed after another renovation, explain which nearby materials or building systems changed before the damage became visible.
Where a finished perimeter is prominent, decide whether trim stays in position or is removed before agreeing how the new surface meets that edge.
Where several contractors share the renovation, identify the inspection and handover milestones that determine when each following stage can proceed.
At an edge beside built in furniture, state whether the obstruction will be removed or whether finishing stops at the section that can be reached.
Explore the Macon-Bibb drywall overview for related options, or read the project planning information before arranging the next stage.
More planning details for Macon-Bibb
For a Macon-Bibb interior project, a hallway with several door returns is a useful example of why square footage alone does not describe the labor. Each edge, frame and change of plane affects protection and finishing access. Measure the separate surfaces and explain which doors need to remain usable while compound dries.