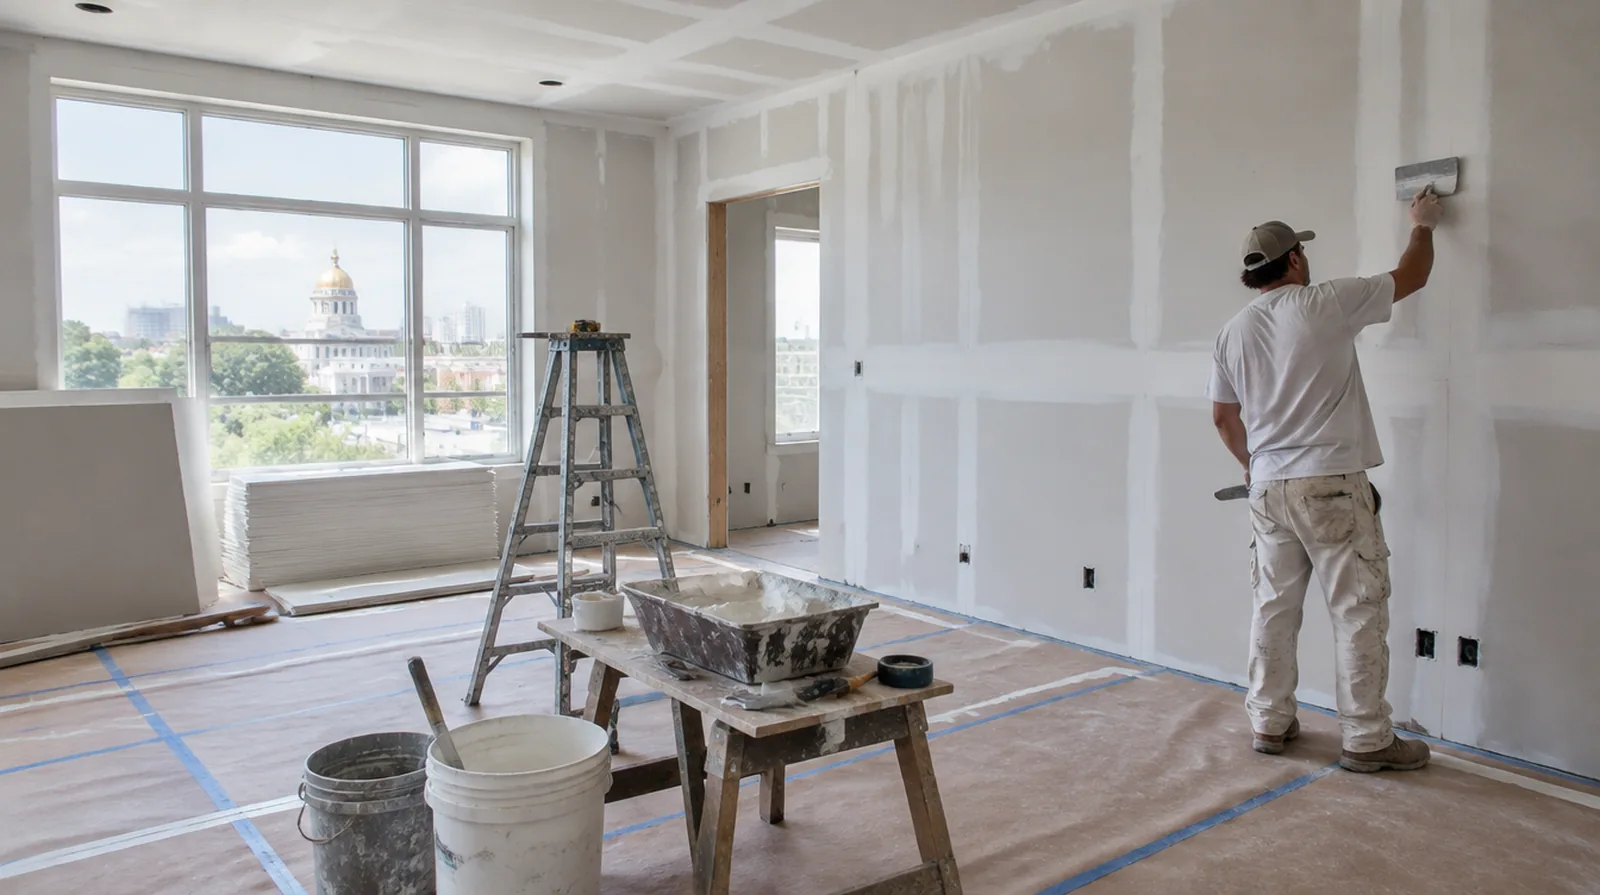
Consider a skim layer
Broad grazing light could reveal a difference in texture between the paper face and finished joints. Where the finish specification requires greater uniformity, consider an appropriate broad skim application. For walls beside bright windows, review a dry sample from an oblique angle as well as looking straight at the repaired surface.
Embed the tape
Tape needs a properly bonded bedding coat underneath its full length. At an internal angle, form a clean crease and finish both sides without leaving unsupported edges. At a surface receiving strong window light, review a dried trial from the side in addition to the normal straight view of the wall.
Assess the hung board
Finishing cannot fully correct unsupported edges or panels that sit on differing planes. Check how the sheets sit and how the fixings hold them instead of beginning with compound immediately. Where flooring is staying in place, agree on protective coverings and check that tools and material handling will not damage the visible finish.
Cover fastener heads
Fill fastener depressions level with the surrounding face without creating unneeded mounds. Adjust any projecting or paper breaking screw before applying material over the location. If the interior will remain occupied, identify a practical separation between the work area and the space that still needs daily access.
Build the seam gradually
Successive coats widen the finished area and soften the transition from joint to board face. Butt joints typically need a broader blend because they lack the recessed edges of factory seams. For a room that stays in use, set a workable boundary around construction while retaining the access people need for normal daily activities.
Use controlled sanding
Sanding should refine small tool marks rather than grind away a badly shaped joint. Dust extraction and protection matter even for a room with only a few seams. At a repair beside an opening, allow clearance for moving board through the doorway and space to use the finishing tools effectively.
Coordinate with the painter
A primer coat sometimes makes small surface defects easier to identify than raw white compound. Establish responsibility for those final adjustments and any review after priming before the work starts. If the project is part of a larger remodel, settle the sequence with flooring, trim and cabinet work before setting a final finishing date.
Keep external corners straight
A corner profile only produces a straight noticeable line when it is fitted and coated correctly. Dents or twists ought to be corrected before the finish locks them into the wall. If the problem developed after another renovation, explain which nearby materials or building systems changed before the damage became noticeable.
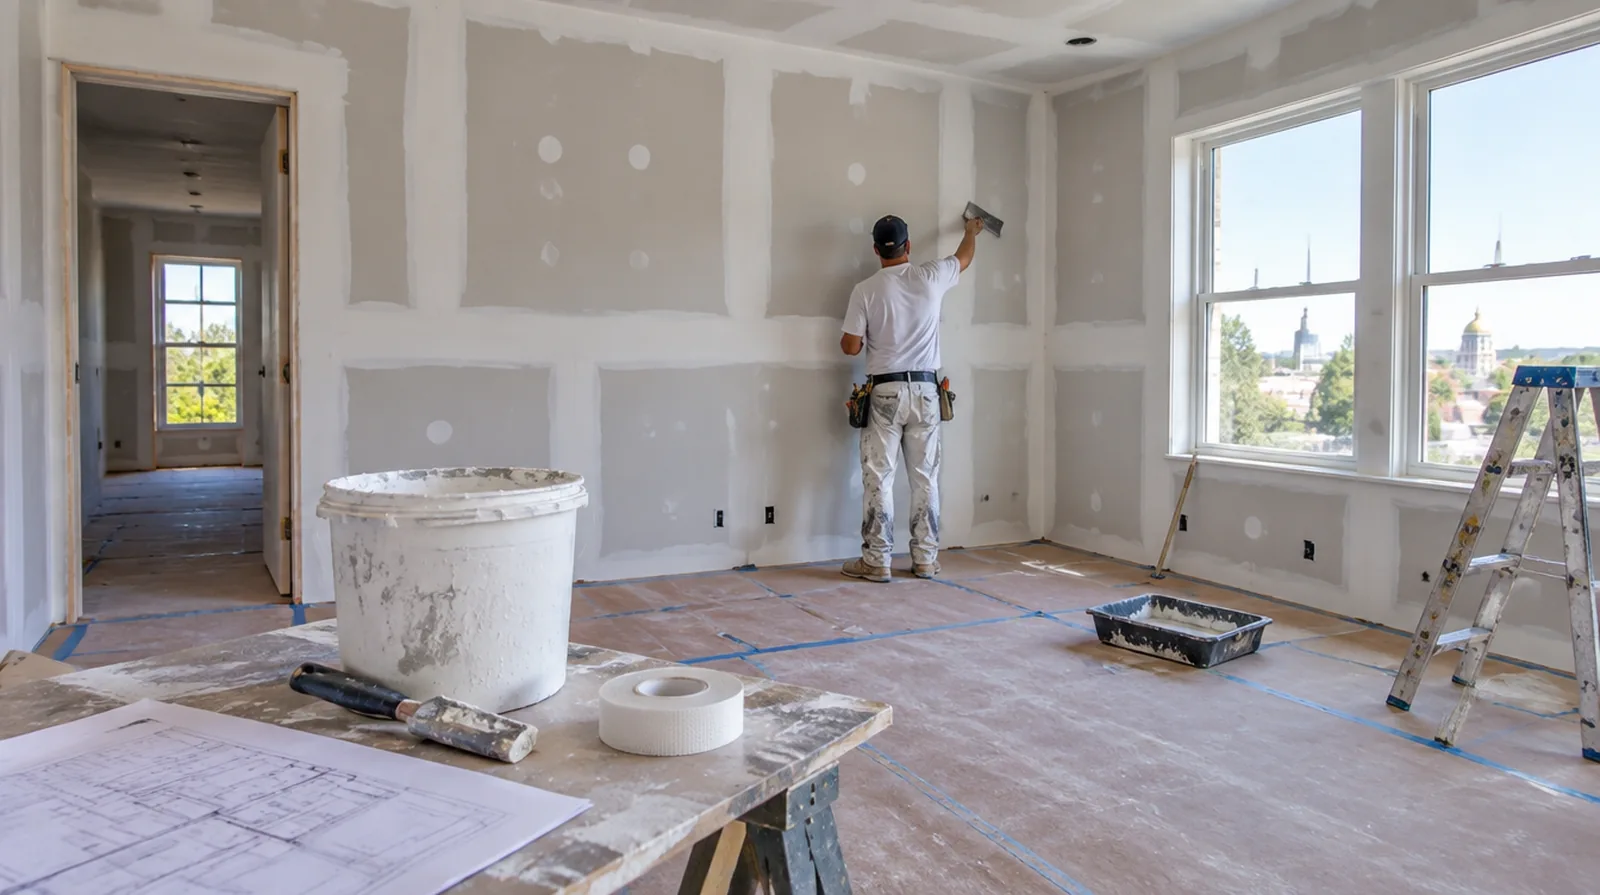
Allow genuine drying time
A firm outer skin does not always mean the material beneath it is ready for sanding. Temperature, air movement and room humidity affect the interval between stages of finishing. If occupancy must resume on a certain day, include the later primer and paint stages in the timetable as well as drywall installation and finishing.
Inspect the whole wall
Review corners, returns and service openings as well as the straight seams in the main wall. Check the finished plane under the planned lighting and from a side angle where possible. For a limited patch requiring substantial setup, assess the complete package of access and protection rather than relating cost only to the opening size.
Project context in Macon-Bibb
Where removal is justified, ask how the edge will be supported and where sound material begins. If an older repair has cracked again, share that history before choosing another cosmetic patch.
Scope questions before finishing
When a wall has repeated defects, keep a record of earlier repair attempts so a new assessment does not simply repeat an unsuccessful approach.
Where a surface has been painted many times, consider whether differences in texture or sheen will require a wider decorative treatment.
For an initial assessment from pictures, provide an overall room photograph and a detailed view of the defect so both context and scale are apparent.
When painting is outside the proposal, describe the remaining decorative preparation clearly so another contractor can price that stage accurately.
Where the wall meets fixed furniture, clarify whether removal is included or whether the finish will terminate at the accessible edge.
If the current finish is unusual, keep a small reference sample or a close photograph to support the discussion about blending and restoration.
Where a future fixture will be installed, coordinate any required backing while the cavity is accessible rather than reopening the completed wall.
If there is a fixed move in date, reserve adequate time for the coating stages after drywall work rather than counting only the installation period.
For a small repair with extensive setup, compare the total scope rather than assuming the price should follow the hole dimensions alone.
Where a neat final edge matters, agree whether the finish ends against existing trim or whether that trim will be removed and replaced.
When the same defect has returned, share information about previous repair methods so the next assessment can consider why they did not last.
At a ceiling or wall containing fittings, assign removal and reinstatement duties for the affected devices before repair access is needed.
Explore the Macon-Bibb drywall overview for related options, or read the project planning information before arranging the next stage.
More planning details for Macon-Bibb
For a Macon-Bibb interior project, a hallway with several door returns is a useful example of why square footage alone does not describe the labor. Each edge, frame and change of plane affects protection and finishing access. Measure the separate surfaces and explain which doors need to remain usable while compound dries.